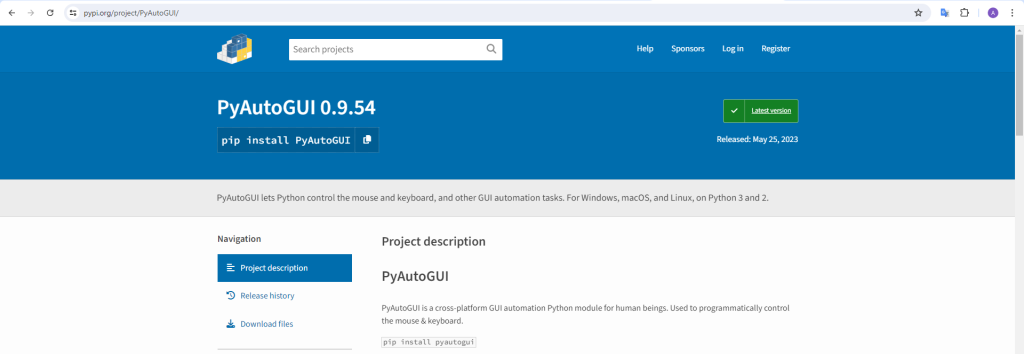
Pyautogui plays an important role in today’s fast-paced digital world where automation is not just a luxury but a necessity. Whether you’re a busy professional looking to streamline repetitive tasks or a hobbyist eager to experiment with coding, automation can save you time and reduce errors. It is a Python library that allows you to control the mouse and keyboard to automate interactions with your computer’s interface.
What is PyAutoGUI?
It is a Python module that provides functions to control the mouse and keyboard automatically. It’s a game-changer for anyone who wants to automate tasks within a graphical user interface. With the help of this library, you can programmatically control your mouse movements, and keyboard strokes, and even take screenshots. This makes it an excellent tool for automating mundane, repetitive tasks such as form filling, software testing, and even complex workflow executions.

Setting Up
Before diving into automation, you’ll need to set up your environment. Here’s a simple guide to get started:
- Install Python: Ensure that Python is installed on your computer. You can download it from the official Python website.
- Install PyAutoGUI: Open your command line interface (CLI) and install PyAutoGUI using pip:
pip install pyautogui
- Verify Installation: You can check if the library is installed correctly by trying to import it in your Python script:
import pyautoguiFor more such content and regular updates, follow us on Facebook, Instagram, LinkedIn
Basic Operations with
Moving and Clicking the Mouse
To move the mouse to a specific position on the screen, you can use the moveTo function. To perform a mouse click, you can use the click function. You can specify the x and y coordinates as parameters For example, to move the mouse to the top-left corner of the screen, you would write
import pyautogui

pyautogui.moveTo(100, 100, duration=1)  # Move the mouse to (100, 100) over 1 second
pyautogui.click(200, 200) # Clicks at the specified screen position
You can also move the mouse relative to its current position using the moveRel function
pyautogui.moveRel(100, 0) # Moves mouse 100 pixels to the rightTyping with the Keyboard
PyAutoGUI allows you to type out text using the keyboard with the typewrite function
pyautogui.typewrite('Hello, world!')You can also specify the interval between key presses
pyautogui.typewrite('Hello, world!', interval=0.25)Taking Screenshots
Taking screenshots is another powerful feature of this library. Use the screenshot function to capture the screen.
screenshot = pyautogui.screenshot()
screenshot.save('screenshot.png')Practical Example: Automating Form Filling
Let’s automate the filling of a simple online form. Assume you have a form opened in your browser at a specific location:
- Navigate to the form: You might use a combination of keyboard shortcuts or mouse movements to open your browser and navigate to the form.
import webbrowser
import time
import pyautogui

# Open the default web browser and navigate to the form
webbrowser.open('example.com/url')    # Use the url of the form you want to fill
time.sleep(5)  # Wait for the page to load
2. Fill in the form:
# Coordinates of the form fields and buttons (You will need to find the correct coordinates)
name_field = (x, y)
email_field = (x, y)
password_field = (x, y)
submit_button = (x, y)

# Fill out the form
pyautogui.click(name_field)
pyautogui.write('John Doe', interval=0.1)

pyautogui.click(email_field)
pyautogui.write('john.doe@example.com', interval=0.1)

pyautogui.click(password_field)
pyautogui.write('SecureP@ssw0rd', interval=0.1)

# Submit the form
pyautogui.click(submit_button)3. Run the Script: Go to the terminal and type python + filename.

Best Practices and Safety Tips
While this library is powerful, it’s important to use it responsibly:
- Always have a fail-safe: This library provides a fail-safe feature. By default, moving the mouse to the top-left corner of the screen will raise a
pyautogui.FailSafeExceptionand stop the script. - Test in a controlled environment: Before running a script on important tasks, test it thoroughly in a safe environment.
- Use pauses and intervals: To mimic human speed and reduce the load on GUI elements, use pauses and intervals between actions.
Automation with this library opens up a world of possibilities. Whether you’re automating data entry tasks, testing user interfaces, or just having fun, it is a fantastic tool to enhance your productivity and expand your technical skills. So dive in, and start automating your digital world today!
If you wish to learn data analysis and curve your career in the data science field, feel free to join our free workshop on Masters in Data Science with PowerBI, where you will get to know how exactly the data science field works and why companies are ready to pay handsome salaries in this field.
In this workshop, you will get to know each tool and technology of data analysis from scratch that will make you skillfully eligible for any data science profile.
To join this workshop, register yourself on consoleflare and we will call you back.
Thinking, Why Console Flare?
- Recently, ConsoleFlare has been recognized as one of the Top 10 Most Promising Data Science Training Institutes of 2023.
- Console Flare offers the opportunity to learn Data Science in Hindi, just like how you speak daily.
- Console Flare believes in the idea of “What to learn and what not to learn” and this can be seen in their curriculum structure. They have designed their program based on what you need to learn for data science and nothing else.
- Want more reasons,


