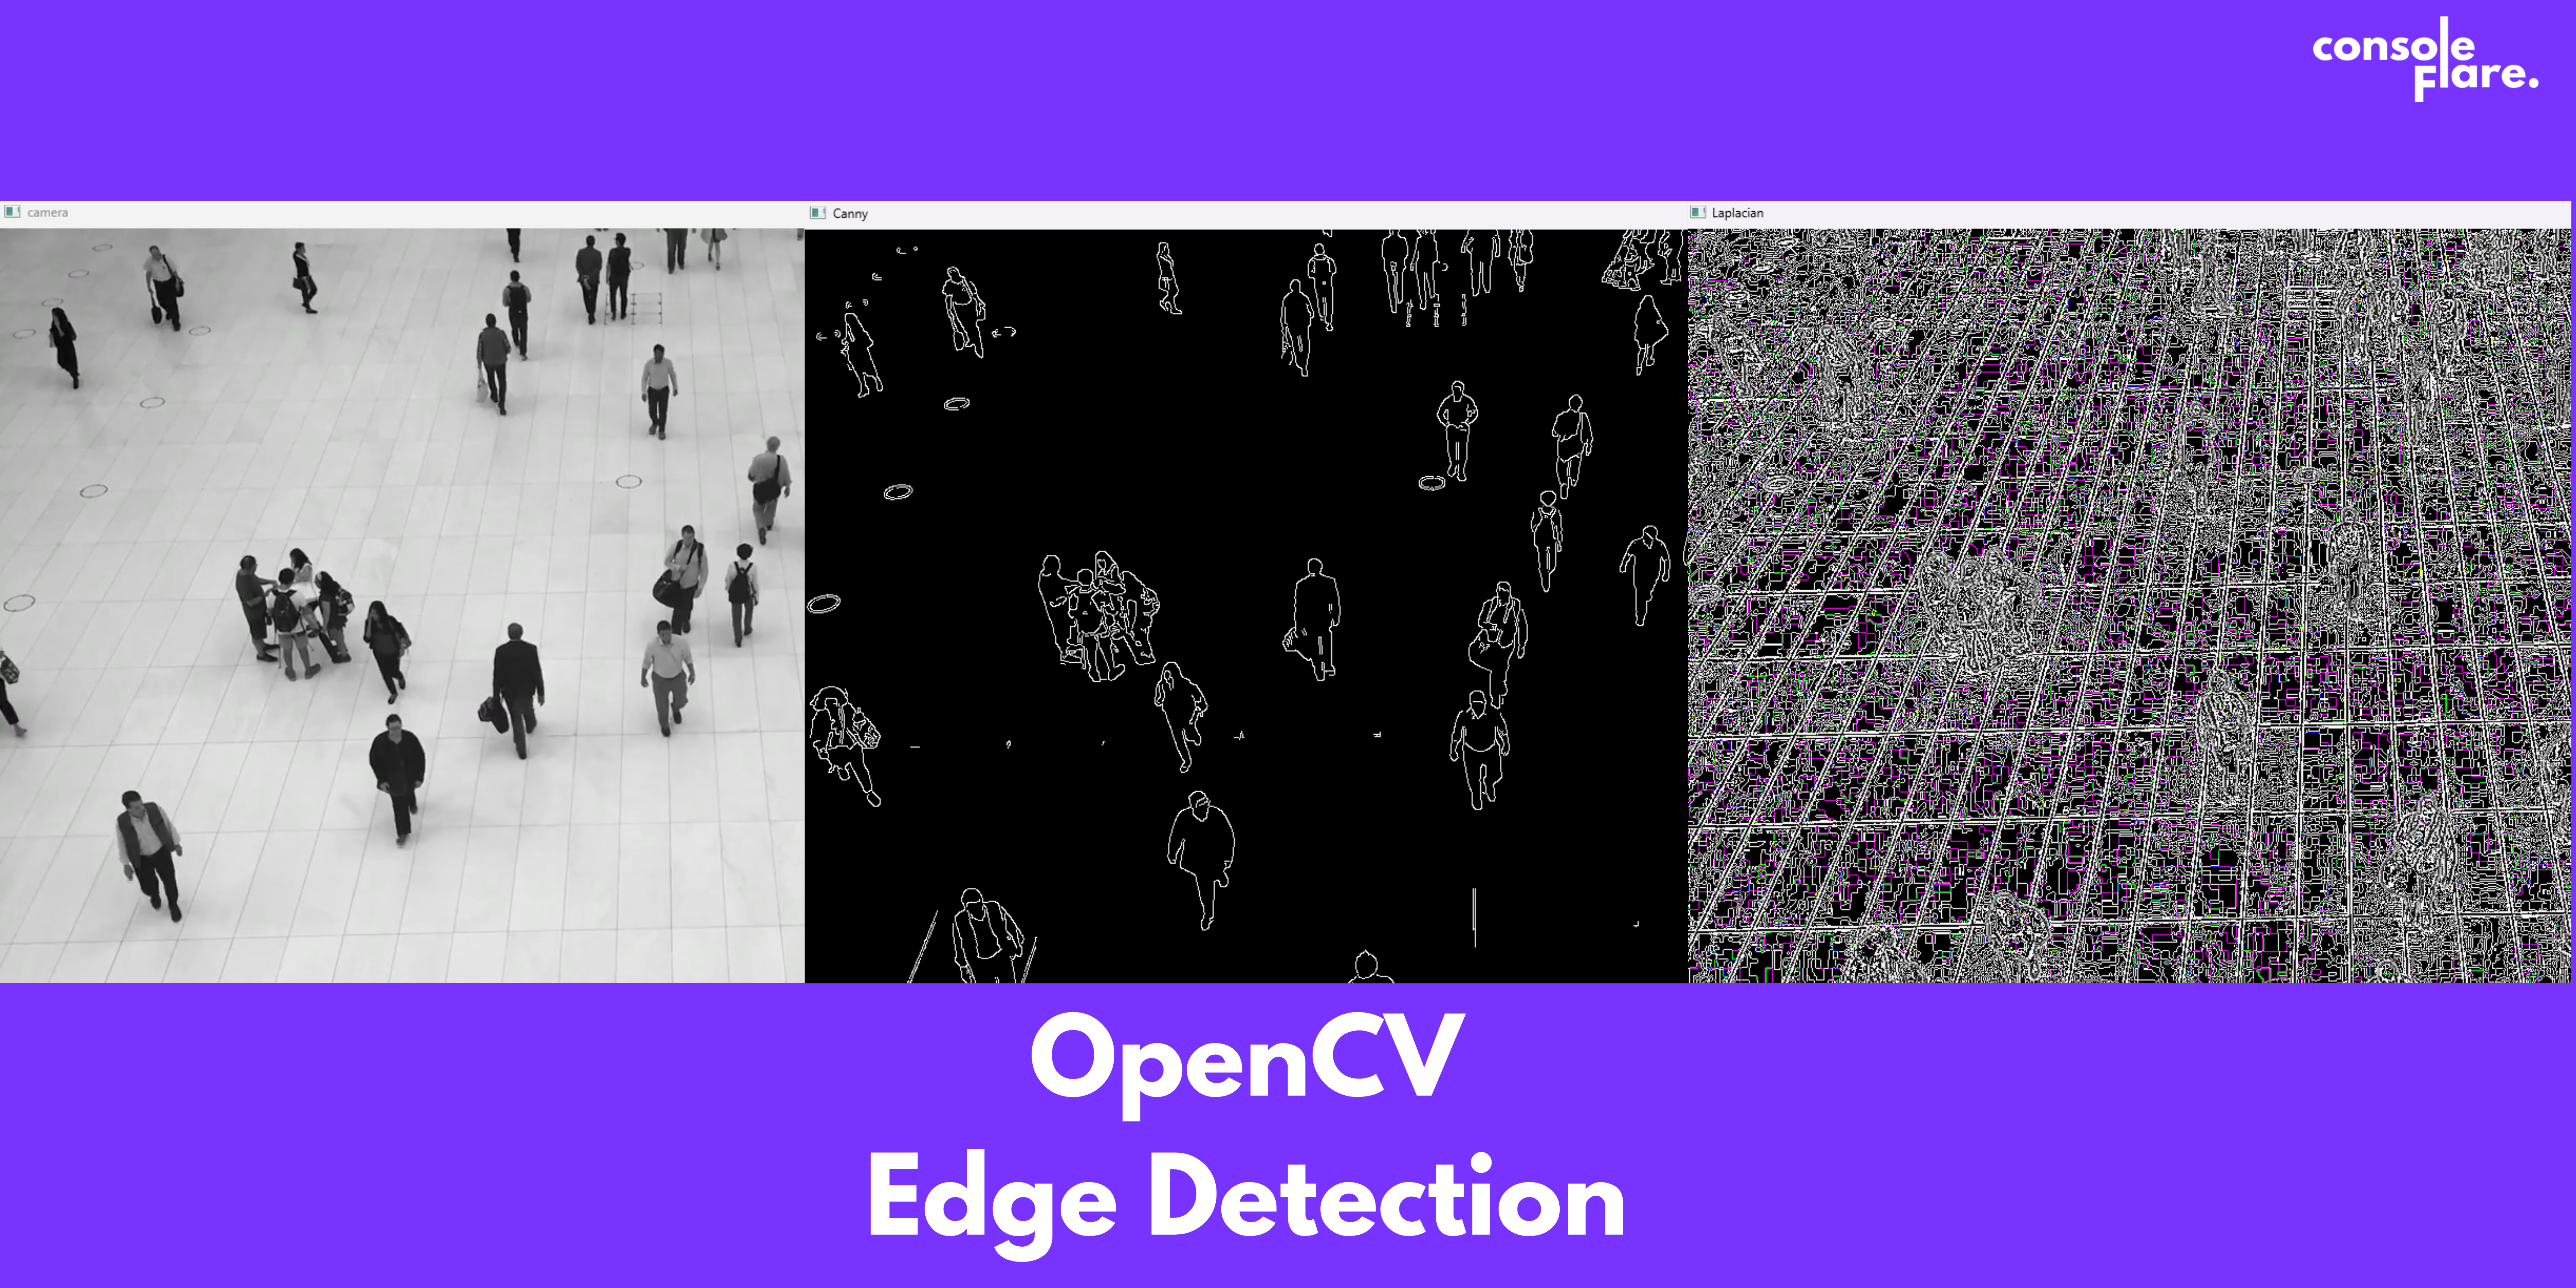
In the ever-evolving field of computer vision(OpenCV), edge detection is a fundamental technique that plays an important role in various applications like image processing, object detection, and so on. It does not matter whether you are a new data analyst or an experienced data scientist who wants to expand your toolkit, understanding and implementing edge detection is considered to be a valuable skill. In this blog, with the help of OpenCV, we are going to create a tutorial-level program to understand the workings of real-time edge detection using Laplacian and Canny methods.
What is Edge Detection in OpenCV?
Edge detection is a technique that is used to identify boundaries within an image. It highlights significant changes in brightness, which usually mark the edges of objects. By detecting these edges, we can simplify the image and focus on its important structural details.
Step 1: Libraries installation
In this program, we need to install numpy and opencv and import them as we are going to call functions from these libraries. For that, we have to open the terminal and run
# Go to terminal and run these commands one by one to install both libraries

pip install opencv-python
pip install numpyStep 2: Import libraries and capture video from the camera.
We need to import both libraries and declare a variable that starts capturing video from the camera.
import cv2 as cv
import numpy as np

camera = cv.VideoCapture(0)        # To access your laptop camera
# camera=cv.VideoCapture('video.mp4')
Step 3: Real-time video processing.
Now we are going to create an infinity loop to capture video continuously.
while True:
    ret,frame= camera.read()

cv.imshow('camera',frame) # It will display the original video.Window name cameraFor more such content and regular updates, follow us on Facebook, Instagram, LinkedIn
Step 4: Applying Laplacian Edge Detection
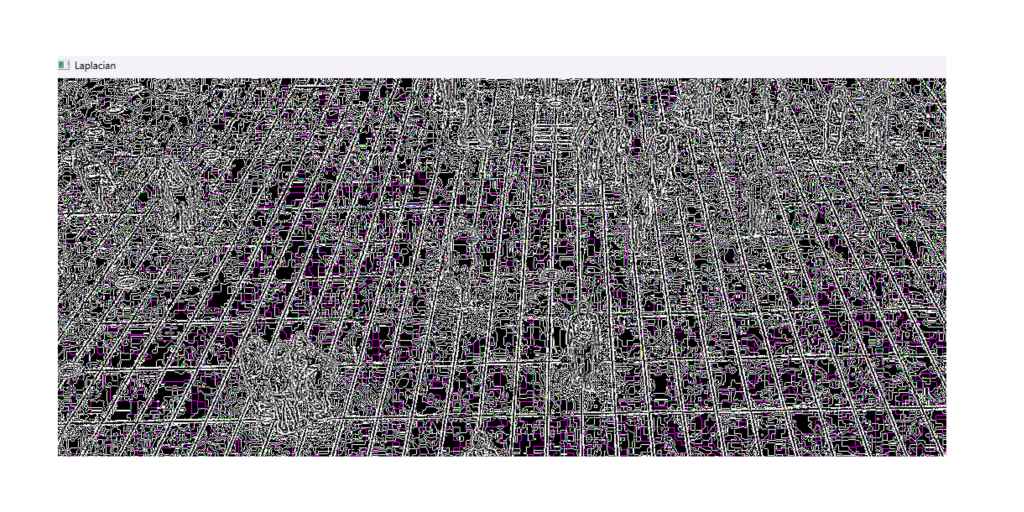
Laplacian is simpler and faster but more sensitive to noise, resulting in potentially more false edges.
# inside the while loop
    laplacian=cv.Laplacian(frame,cv.CV_64F)
    laplacian=np.uint8(laplacian)
cv.imshow('Laplacian',laplacian) # window name--- LaplacianStep 5: Applying Canny Edge Detection
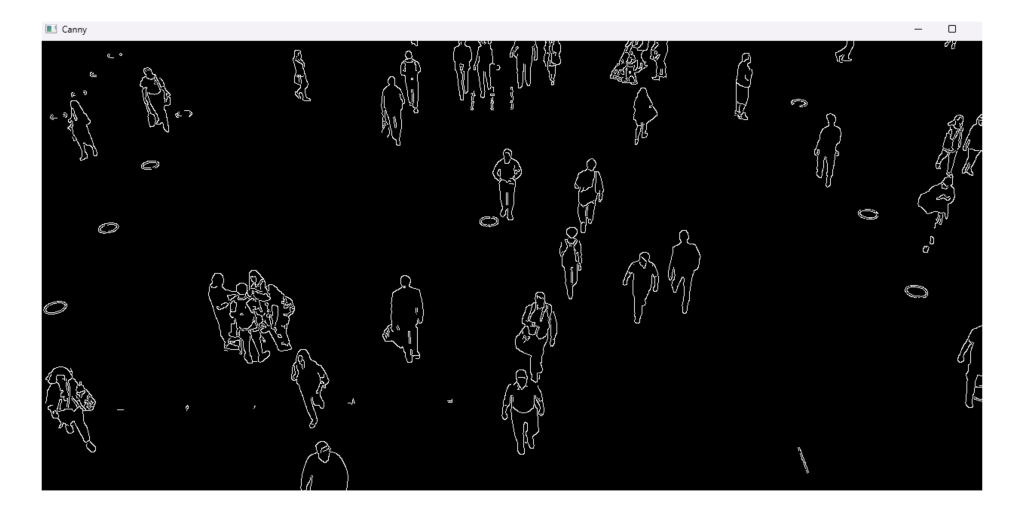
Canny is more complex and computationally intensive but provides cleaner and more accurate edge detection with noise reduction and edge tracking mechanisms.
# inside the while loop
    edges = cv.Canny(frame, 100, 200)
cv.imshow('Canny', edges) # window name----- CannyStep 6: To stop the infinity loop and to end all the screens
# inside the loop
    if cv.waitKey(5)==ord('x'):    # press  x and it will end the loop
        break

# Out of the loop
camera.release()
cv.destroyAllWindows()
PythonThis program captures video from your webcam, processes each frame using Laplacian and Canny edge detection methods, and displays the original and processed frames in real time. The loop continues until you press the ‘x’ key, at which point it releases the camera and closes the windows.


Why Edge Detection of opencv Matters?
Edge detection is a crucial step in many computer vision applications. Here are a few reasons why it’s important:
- Simplification: By reducing the amount of data in an image, edge detection simplifies an image, making it easier to process later.
- Feature Extraction: Edges are rich sources of information that helps to identify and isolate important features within an image.
- Object Recognition: Detecting edges is often the first step in recognizing and classifying objects within an image.
Where it is used?
Edge detection has a wide range of applications across various domains, including:
- Medical Imaging: Enhancing the boundaries of organs and tissues in medical images.
- Automated Inspection: Identifying defects or features in manufacturing processes.
- Robotics: Enabling robots to understand and navigate their environment.
- Image Segmentation: Dividing an image into meaningful regions for analysis.
Edge detection is a foundational technique in computer vision, enabling the identification of significant transitions in intensity that correspond to object boundaries. With OpenCV, you can easily implement real-time edge detection using methods like Laplacian and Canny. This tutorial has provided a hands-on approach to understanding and applying these methods, laying the groundwork for further exploration and application in your data science projects.
By mastering edge detection and other image processing techniques, you’ll be well-equipped to tackle a wide range of computer vision challenges, opening up new possibilities in your data science career.
If you wish to learn and curve your career in the data science field feel free to join our free workshop on Masters in Data Science with PowerBI, where you will get to know how exactly the data science field works and why companies are ready to pay handsome salaries in this field.
In this workshop, you will get to know each tool and technology from scratch that will make you skillfully eligible for any data science profile.
To join this workshop, register yourself on consoleflare and we will call you back.
Thinking, Why Console Flare?
- Recently, ConsoleFlare has been recognized as one of the Top 10 Most Promising Data Science Training Institutes of 2023.
- Console Flare offers the opportunity to learn Data Science course in Hindi, just like how you speak daily.
- Console Flare believes in the idea of “What to learn and what not to learn” and this can be seen in their curriculum structure. They have designed their program based on what you need to learn for data science and nothing else.
- Want more reasons,


