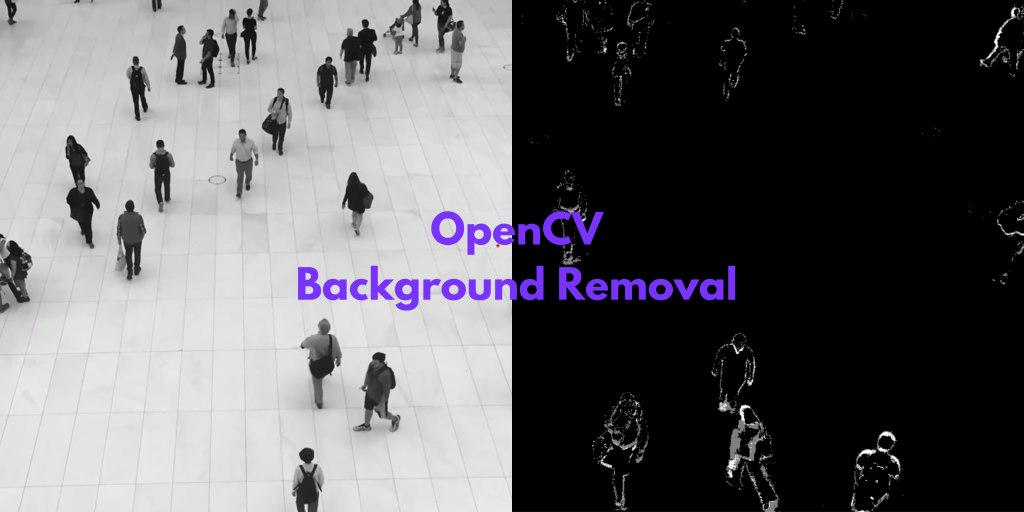
OpenCV is a Python library that stands for Open Source Computer Vision library. This library is a collection of functions(tools) that are helpful to us in image processing, video analysis, object detection & recognition, machine learning integration, graphics, robotics, and many more. In this blog, we will learn how to subtract(remove) background from a video and the same can be done on live video too. Background subtraction is a fundamental technique in which we extract foreground objects by isolating them from the background.
OpenCV Program Prerequisites
To create this program, let me inform you about some basic requirements.
1. OpenCV library(installation)
2. Understanding of conditional statements
3. Understanding of infinity loop and break
4. Understanding of functions, parameters, arguments, and calling.
5. You can use any editor like pycharm, vs code, or any other
Let’s start
Step 1: Install the OpenCV library
In this step, we need to install the OpenCV library. For that, you have to go to the terminal and type
“pip install opencv-python”
Step 2: Lets Code
Let’s create variables to access your camera or any downloaded video.
video=cv.VideoCapture(0)                      #it will access  your laptop camera
# video=cv.VideoCapture('video.mp4')       uncomment this line for any downlaoded video

subtractor=cv.createBackgroundSubtractorMOG2(20,50)The variable video is used to access video with the help of videocapture(), it depends on whether you want to receive video from your laptop camera(live) or any other stored video.
The other variable subtracter is used to store the data generated from the function createBackgroundSubtractorMOG2() that has 20 (the history length (number of frames used to initialize the background model) and 50 (as the threshold for marking a pixel as foreground).
For more such content and regular updates, follow us on Facebook, Instagram, LinkedIn
Step 3: Processing the video stream
In this step, we will create a logic using loop and conditional statements to process the video stream
while True:
    ret, frame = video.read()
    if ret:
        mask = subtractor.apply(frame)  # Apply the background subtractor to the current frame

        cv.imshow('Mask', mask)             # Display the resulting mask

        if cv.waitKey(5) == ord('x'):     # Check for user input to exit the loop
            break

    #else:
     #   video = cv.VideoCapture('video.mp4')   uncomment these lines in case of stored video


cv.destroyAllWindows() # close all OpenCV windows and release the video capture object
video.release()
- We have started an infinite while loop so that the video stream process goes on continuously.
- We have declared two variables ret (to make sure whether a frame was successfully read) and frame(to read frames continuously).
- Now we have applied conditional statements on ret(to check whether the frame was successfully read or not) and in case of True we apply the background subtractor (
subtractor.apply(frame)) to the current frame to obtain a binary mask (mask) where foreground objects are highlighted. - The resulting mask is displayed in a window named
'Mask'usingcv.imshow(). - We have used
cv.waitKey(5)to wait for a key press for 5 milliseconds. If the pressed key is'x'(exit key), we break out of the loop. - If the video ends (
retisFalse), we restart the video capture from the beginning to create a loop effect. (In case of stored video). - Once the key ‘x’ is pressed the loop ends and all the windows will be closed.
Now the program is completed and you can run the program.
This is a very simple program just to give an idea of what the opencv is capable of. This library is used highly in case of object tracking, motion detection, surveillance systems, and etc.
If you wish to learn and curve your career in the data science field feel free to join our free workshop on Masters in Data Science with PowerBI, where you will get to know how exactly the data science field works and why companies are ready to pay handsome salaries in this field.
In this workshop, you will get to know each tool and technology from scratch that will make you skillfully eligible for any data science profile.
To join this workshop, register yourself on consoleflare and we will call you back.
Thinking, Why Console Flare?
- Recently, ConsoleFlare has been recognized as one of the Top 10 Most Promising Data Science Training Institutes of 2023.
- Console Flare offers the opportunity to learn Data Science in Hindi, just like how you speak daily.
- Console Flare believes in the idea of “What to learn and what not to learn” and this can be seen in their curriculum structure. They have designed their program based on what you need to learn for data science and nothing else.
- Want more reasons, Data Analytics

